There are several noteworthy uses and benefits of growing raspberries.
--
--
- Raspberries are chemopreventative, ie they help your body to prevent disease (because of high amounts of ellagic acid).
- Raspberries contain high amounts of strong antioxidants like vitamin C, quercetin and gallic acid that fight cancer, heart disease and circulatory disease and aging as it relates to general decline
- Raspberries contain carotinoids that protect against macular degeneration, ie an eye disease that may cause blindness.
- Raspberries fight inflammatory conditions like gout and arthritis.
- Raspberries leaf tea has been to treat sold sores, gingivitis, anemia, leg cramps, morning sickness, canker sores and diarrhea. ==> BUY TROPICAL MEDICINAL TEA LEAVES <==
- Raspberries leaves are said to be very effective in inducing labor.
- Raspberries are easy to grow, consume and store. In fact, they can even be frozen and freeze-dried without losing their nutritive value.
- While the different types types of raspberries; ie the black, darker red (rubus occidentalis) and lighter red (rubus idaeus) all offer the above health benefits, the health benefits are more prominent in the darker types.
 |
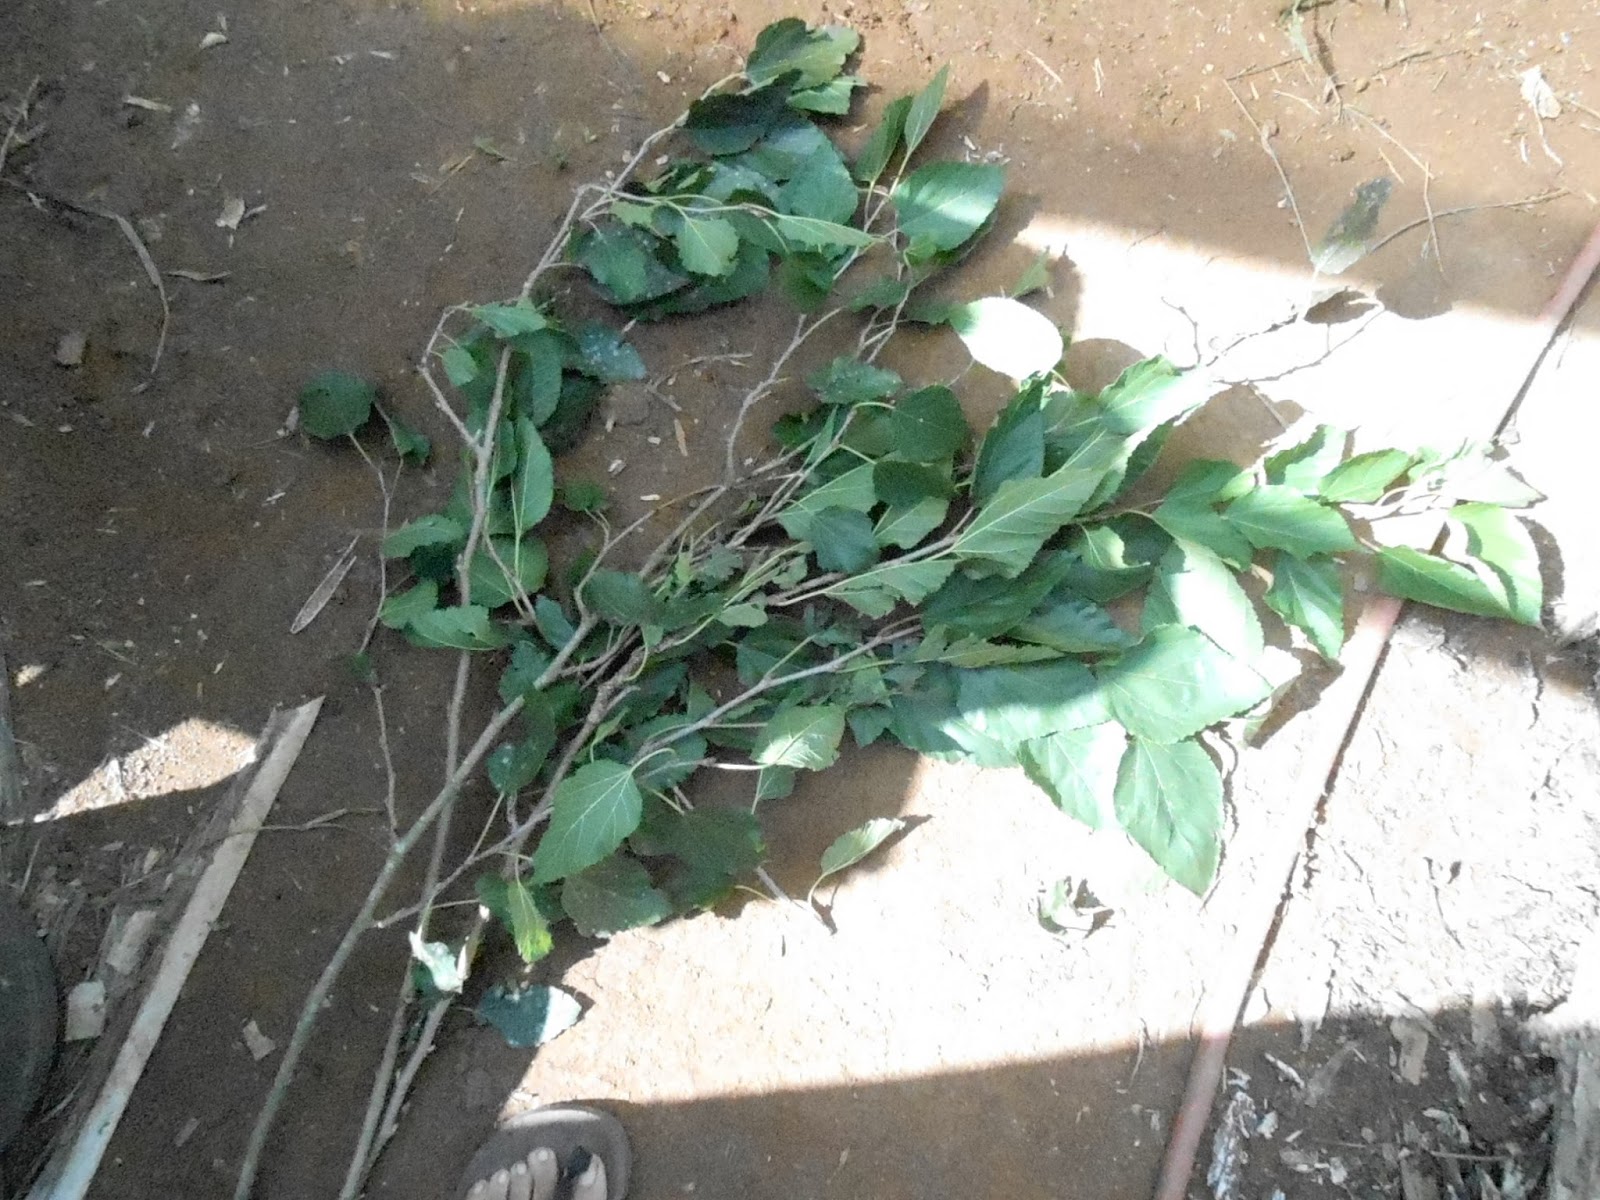
| Notice the nodes along these raspberry cuttings. |
--
--
To grow raspberries from cuttings, you will need:
- a healthy mother plant with branches that are sufficiently long to provide cuttings as long as 5 to 6 inches long (to provide as many nodes on each cutting as possible).
- soil
- A growing container (like grow bag or buckets) that is at least 4 inches deep. Alternatively, a roughly 4-inch deep hole in the ground in a clear spot in the ground.
Steps for growing raspberries from cuttings:
- Trim 5 to 6 inch cuttings off of a mother plant. You may harvest longer cuttings which can be divided upon arrival at the gardening site.
- Place the raspberry cuttings into the container or hole in the ground
- Fill the growing container or hole with soil so that as many as 2/3 of the nodes will be underground for rooting as roots develop from the nodes of raspberry cuttings. As an alternative, you may use foam.
- Moist the soil (or foam).
- Mist the soil every day.
- Do not lose faith if all of the leaves dry and fall off. In fact, it is very common for the cutting to look like a dead twig for as long as a month before showing signs of life above ground. This is quite typical of cuttings of woody plants. See a video that illustrates how raspberry cuttings may look dead initially. Essentially, such cuttings go into a state somewhat like hibernation. During this period, they slow or completely abort above-ground functions (involving leaves). This allows them to conserve, build and direct energy into developing a solid root system for its future long term survival. In this case, the cutting focuses on developing a root system. It is only when the root system is sufficiently developed to support the above-ground function does the plant begin to show signs of life above ground again.

This raspberry cutting was presumed dead. However, I had forgotten to toss it out and stumbled upon this new growth after roughly 1 month of appearing dead. - Depending on your location and conditions, roots are likely to appear within 2 to 3 weeks. Leaves are likely to appear shortly thereafter
- Transplant the young raspberry plants into the ground between the new moon and the first-quarter moon (when it falls in Cancer, Scorpio or Libra). Transplanting according during this moon phase is likely to improve the success of growing new healthy raspberry plants.

CONTENT RELATED TO PROPAGATING RASPBERRIES FROM CUTTINGS
- Tropical organic permaculture garden. Youtube video playlist.
- Take Control! Click HERE to subscribe to our YouTube channel (Naturopathic Control)
-- --


